A while ago I wrote a post about an unsuccessful attempt at polishing pebbles
Having collected more pebbles from a visit to the coast in May, I tried again and I was reasonably optimistic when I wrote about the first stage of the polishing here.
The process is now complete and I am pleased to say I'm happy with the results!
This shows the end of the first stage of polishing with an 80 grit.
Two grades of carbide grit (220 and 400) later and a week polishing with cerium oxide and the pebbles are ready to be taken out of the tumbler for the final time.
The small nylon pellets you can see in the bowl act as a buffer to prevent damage to the ground pebbles during the polishing process.
Washed and dried and the full beauty of the pebbles shines through..
Each and every one is a real gem! It was certainly worth taking that extra care in the preparation.
Now all that remains is for me to find the best way to display the results!
Art and all that stuff
Showing posts with label stone polishing. Show all posts
Saturday, 30 June 2012
Sunday, 3 June 2012
Stone polishing
Whilst on holiday at the coast we collected a few pebbles from the beach... as you do...
However after many previous collections we have now become more experienced at selecting the right type of pebble for polishing... Many look as though they will polish well but are too soft and disintegrate during the first stage of polishing.
Below is this years selection. These will be grouped into batches of similar stones both in size and texture and then begin the long multistage polishing process.
The initial stage of the first batch of the stone polishing, using the abrasive 80 grit, is complete and we are pleased with the results so far.
The same batch is now busily turning away in the polisher for the next week using the finer abrasive 220 grit. Following this there will be another week's grinding using 400 grit, followed by a week polishing with cerium oxide polish.
Hopefully the result will be worth blogging about!!
However after many previous collections we have now become more experienced at selecting the right type of pebble for polishing... Many look as though they will polish well but are too soft and disintegrate during the first stage of polishing.
Below is this years selection. These will be grouped into batches of similar stones both in size and texture and then begin the long multistage polishing process.
The initial stage of the first batch of the stone polishing, using the abrasive 80 grit, is complete and we are pleased with the results so far.
The same batch is now busily turning away in the polisher for the next week using the finer abrasive 220 grit. Following this there will be another week's grinding using 400 grit, followed by a week polishing with cerium oxide polish.
Hopefully the result will be worth blogging about!!
Friday, 9 September 2011
Things don't always go according to plan...
Some weeks back I posted about stone polishing and promised an update once the process was finished.
Five weeks of grinding, followed by a week of polishing and I was eagerly anticipating the result.
However, things don't always go according to plan and when I opened the container it was obvious something wasn't quite as it should be.
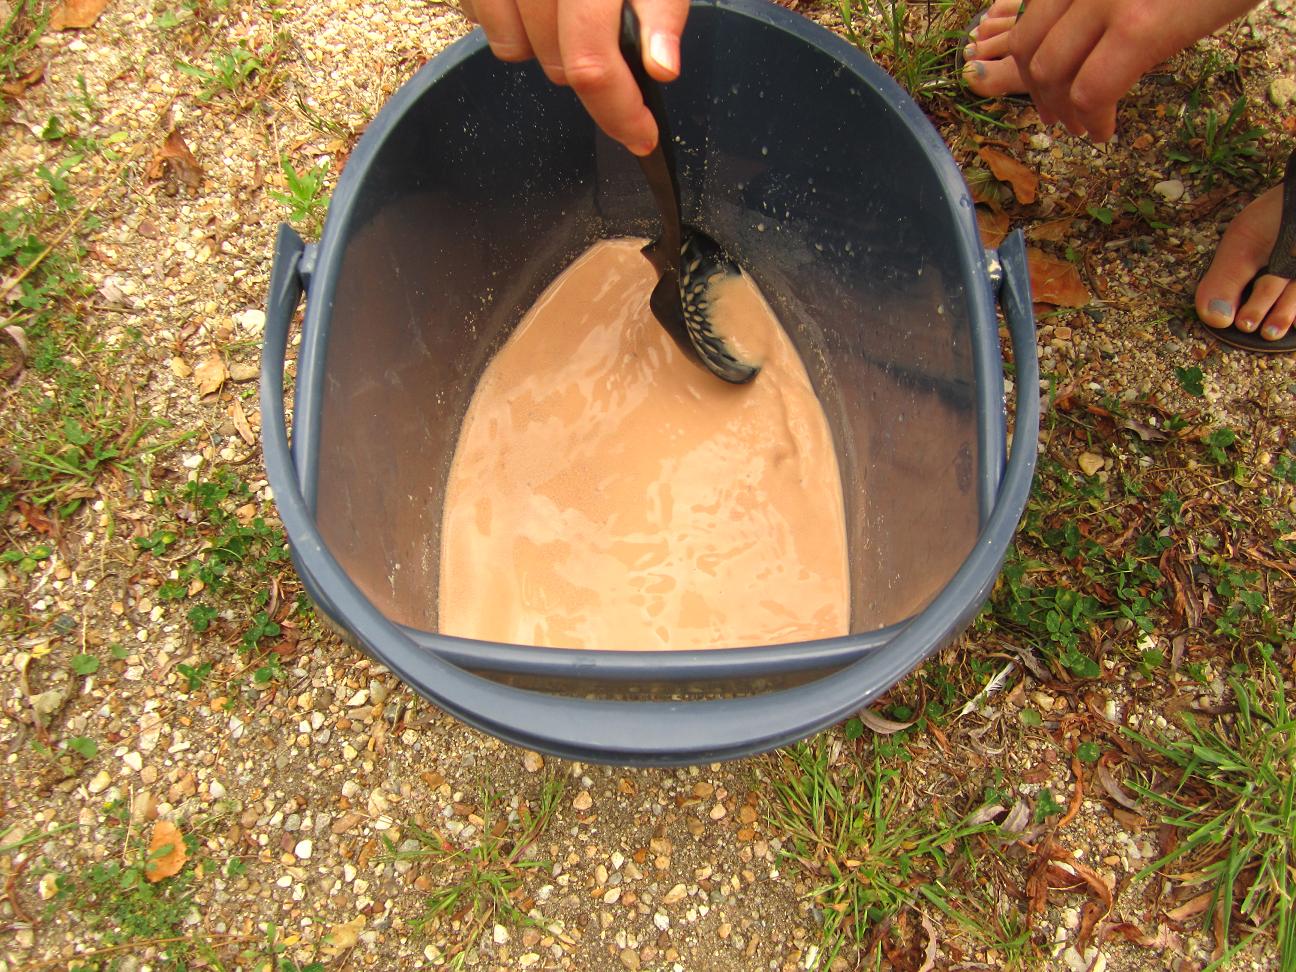
During the grinding stages there is always a lot of sludge to dispose of and it is vital that this is done thoroughly otherwise any residue will negate the polishing process. I had been very careful, therefore, to make sure this was the case.
However, what I hadn't bargained for was the hardness (or otherwise) of the pebbles I was polishing..
Amongst the harder pebbles were some which were a little softer in composition and this caused them to break up during the processing. The particles which broke off in effect acted in the same way any grinding residue would have done. So, instead of being able to show you beautifully polished pebbles like my previous ones...
These ones were for the most part dull and gritty...
It's a hard lesson to learn when you've waited the best part of six weeks to see the finished product but all is not lost! I will go back one stage; removing the damaged and weak pebbles and repeat the last of the grinding and then the final polishing stages. At that point I hope to be able to show you the finished 'gems'!
Please note: I did say "Hope"!!
Five weeks of grinding, followed by a week of polishing and I was eagerly anticipating the result.
However, things don't always go according to plan and when I opened the container it was obvious something wasn't quite as it should be.
During the grinding stages there is always a lot of sludge to dispose of and it is vital that this is done thoroughly otherwise any residue will negate the polishing process. I had been very careful, therefore, to make sure this was the case.
However, what I hadn't bargained for was the hardness (or otherwise) of the pebbles I was polishing..
Amongst the harder pebbles were some which were a little softer in composition and this caused them to break up during the processing. The particles which broke off in effect acted in the same way any grinding residue would have done. So, instead of being able to show you beautifully polished pebbles like my previous ones...
These ones were for the most part dull and gritty...
It's a hard lesson to learn when you've waited the best part of six weeks to see the finished product but all is not lost! I will go back one stage; removing the damaged and weak pebbles and repeat the last of the grinding and then the final polishing stages. At that point I hope to be able to show you the finished 'gems'!
Please note: I did say "Hope"!!
Subscribe to:
Posts (Atom)